
ps做波纹字,用ps设计一款立体波纹效果文字
ps做波纹字,用ps设计一款立体波纹效果文字
制作一款波纹线条纹理的立体文字,整个设计具有画面感,没错,那么具体是如何制作出完美的波纹线条纹理文字呢?制作起来也比较简单,同学们可以跟着教程练习一下,用到的依然是图层样式,是的,文字设计一般都用到图层样式来完成,希望同学们在练习的同时记住某些操作步骤,在练习中找到学习PS的乐趣。
效果图:

操作步骤:
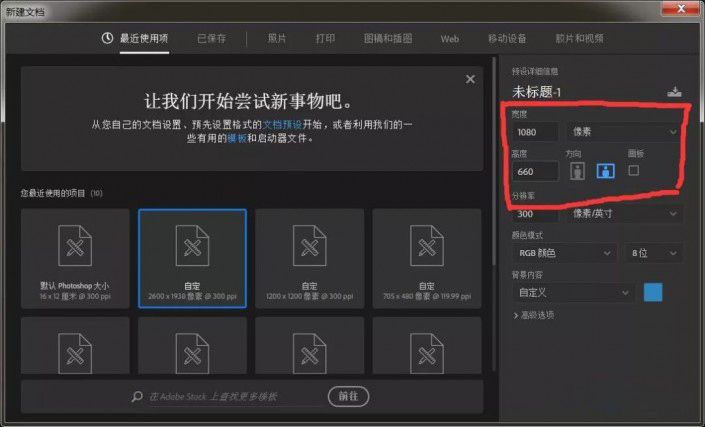
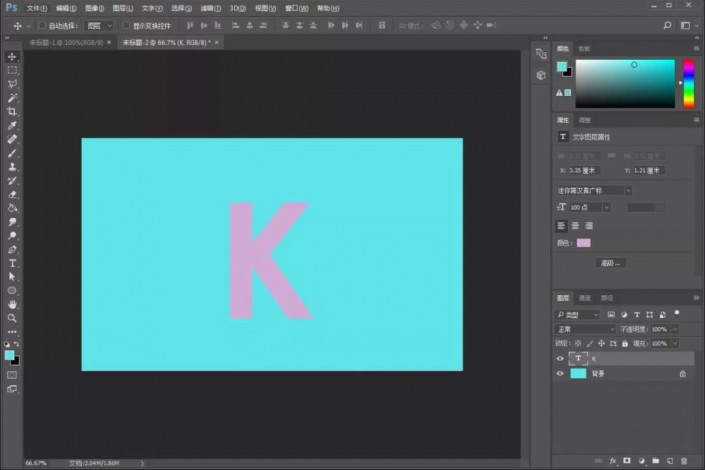
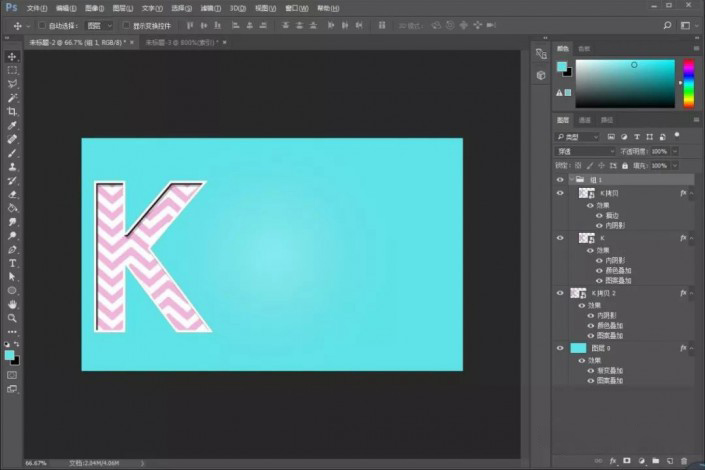
1、打开ps,新建画布1080x660像素,输入字母K,调整好大小,填充自己喜欢的颜色,如图所示
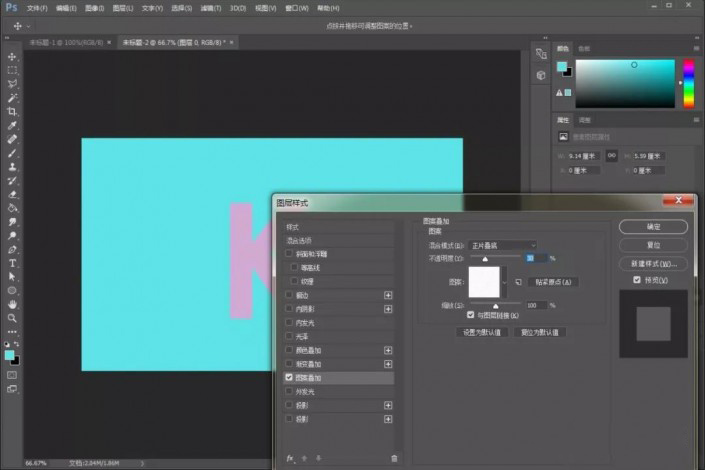
2、解锁图层背景,给背景层添加图层样式【图案叠加】,如图
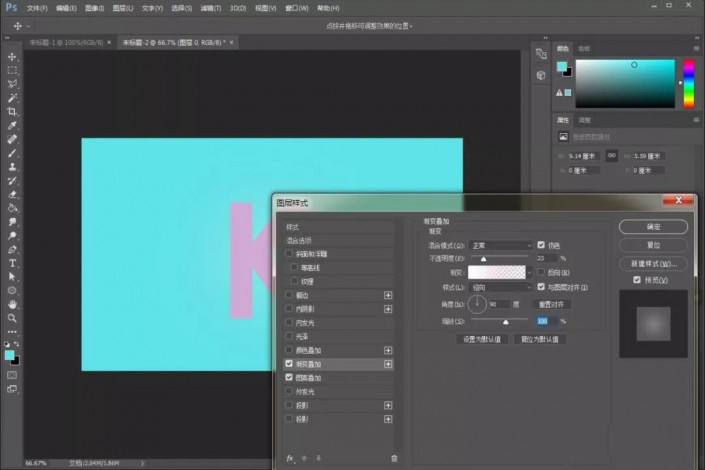
继续给图层添加渐变叠加
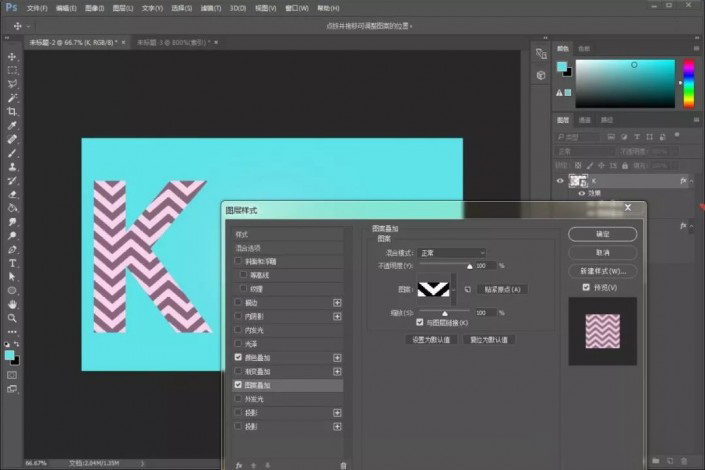
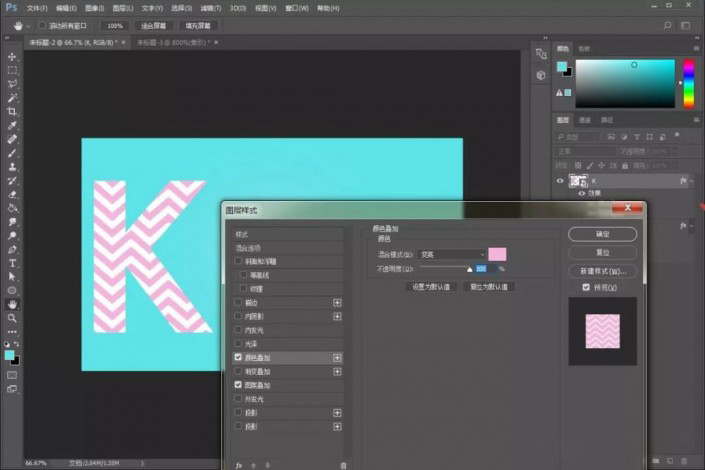
3、把文字图层【转换为智能对象】,定于图案,添加图层样式【图案叠加】和【颜色叠加】
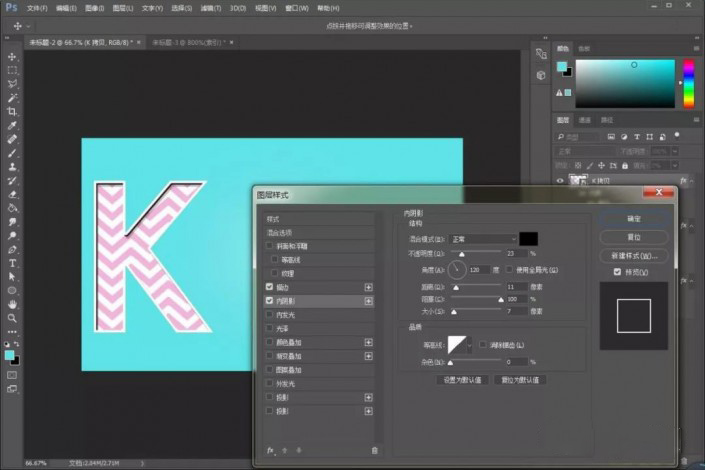
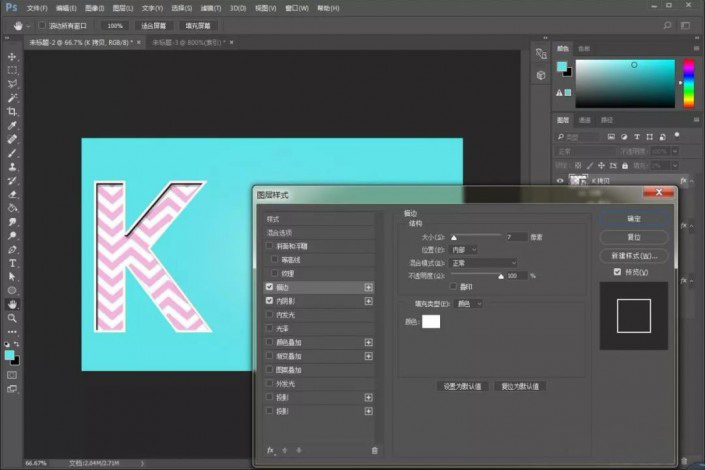
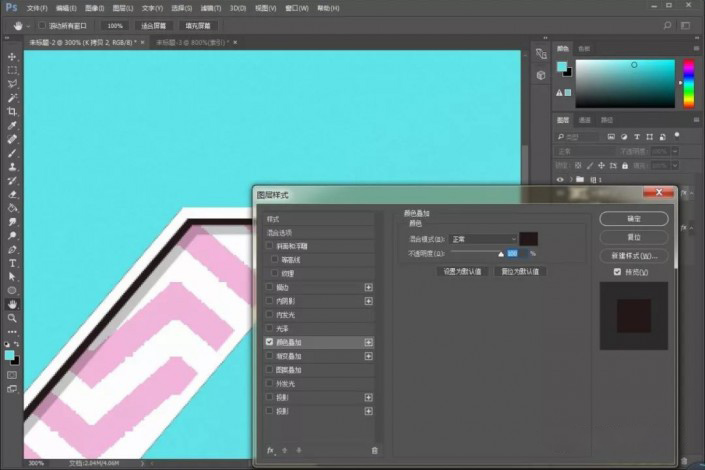
4、ctrl+j复制文字图层,清除图层样式,填充设为2,然后新建图层样式,添加【内阴影】和【描边】

5、ctrl+g给图层编组,然后复制刚刚添加了新的图层样式图层,清除图层样式,添加【颜色叠加】
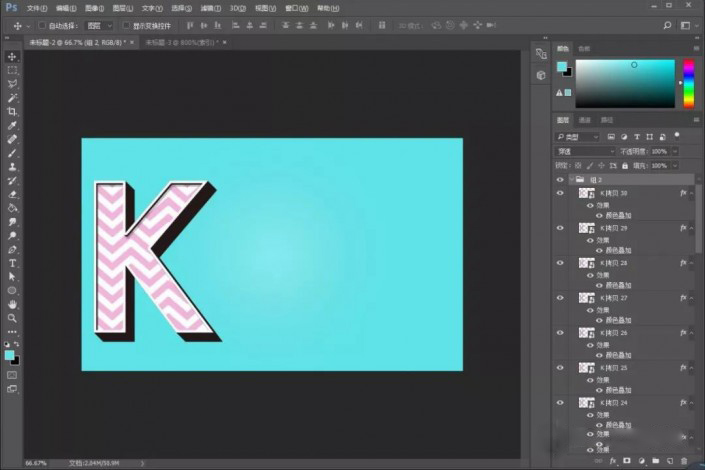
6、复制新建的图层样式图层,ctrl+t进行变换,用键盘方向键左移一下,下移一下,然后按回车键,重复步骤
7、效果出来后,添加图层编组,复制图层编组,设置透明度为50,ctrl+t变换一下
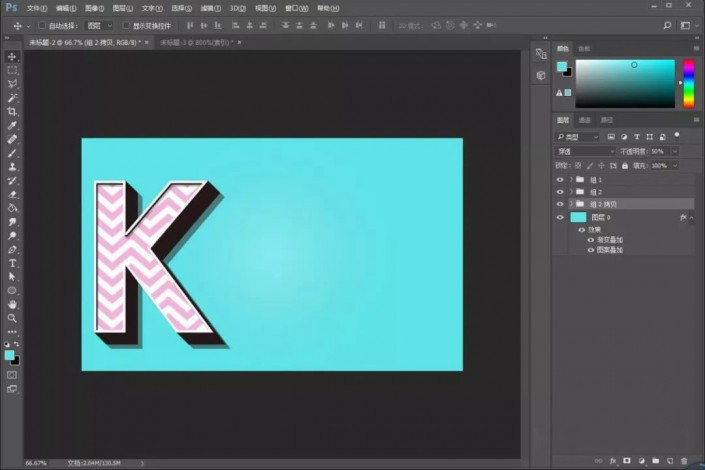
8、效果就出来了有木有,后面的也是一样的,最终效果图

文字到这里就制作完成了,同学们可以通过具体来进行操作,文字也可以设计其他造型的,就看怎么制作了。
本文由设计学习网整理发布,不代表设计学习网立场,转载联系作者并注明出处.