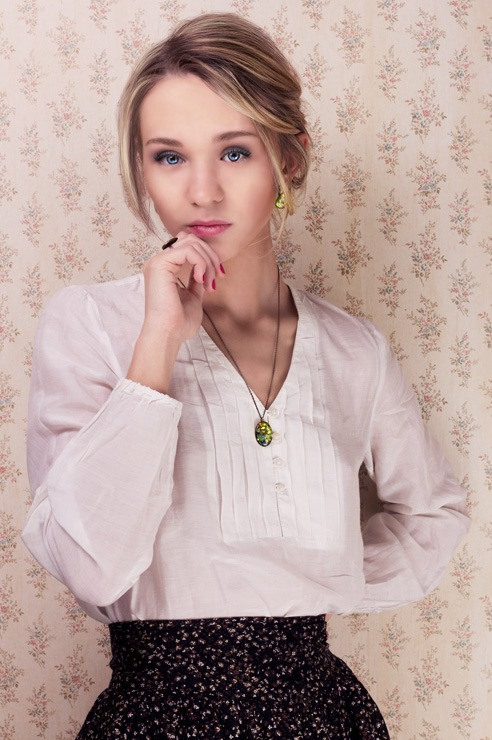
PS照片处理:后期人物磨皮润色教程
此PS教程将教你如何使皮肤更光滑,以及如何让迷人眼。通过简单地调整图层,你会做出更好的色彩。
We’ve got important Photoshop techniques here for you, all focused on improving your photo manipulations and retouches. This tutorial will teach you how make skin smoother, and how to make charming eyes. By simply adjustment layers you will make better colors. Then, you will make grain on skin, to more realistic look.
我们有重要的Photoshop技巧为你在这里,全部集中在提高你的照片的操作和润饰。本教程将教你如何使皮肤更光滑,以及如何让迷人眼。通过简单地调整图层,你会做出更好的色彩。然后,你会纹在皮肤上,以更现实的期待。.
Preview of Final Results
With this tutorial you will create amazing beauty retouch, which can be used in printed media – like in magazines, flyers, adverts and more. You can use this knowledge in your designs, or even if you are photographer! You’ll need Photoshop CS5 or newer to follow this tutorial.
有了这个教程中,您将创建令人惊叹的美润饰,可用于印刷媒体 - 像杂志,传单,广告等等。您可以在您的设计中使用这些知识,或者即使你是摄影师!你需要的Photoshop CS5的或更新的版本来完成本教程

Tutorial Resources
- 素材图:– freeimages.com, by african_fi
Step 1
Open stock photo with the model. Duplicate it – drag layer to “New layer” symbol.打开原素材图 复制它并新建一个图层

Step 2
Now you’ll be working on duplicated layer. Choose Clone Stamp Tool. Use soft brush. Hold alt and pick cleaner fragments of skin. Then use stamp tool under her eyes, erase freckles and wrinkles. (Feel like plastic surgeon.) You should play with brush size.现在,你将要开展重复的图层。选择仿制图章工具。用软毛刷。按住ALT键,并选择皮肤清洁片段。然后用图章工具,在她的眼里,消除雀斑和皱纹。 (感觉像整形外科医生。)你应该用画笔大小播放。

Step 3
Go to her forehead. Also with clone stamp tool erase hair strands and wrinkles. Use smaller brush.去她的额头。也与仿制图章工具清除发丝和皱纹。使用较小的画笔。

Step 4
Duplicate layer when clone tool was used. From top menu choose Blur > Gaussian blur.复制图层,当克隆工具使用。从顶部菜单中选择模糊>高斯模糊。

本文由设计学习网整理发布,不代表设计学习网立场,转载联系作者并注明出处.
